
A Kitchen Renovation - Phase 1
1:07 PM
This post has been a long time coming, but I'm finally undertaking it!
Our house was built in 1935, and prior to my renovation, it was updated by the previous owner in 1994. So, very much in need of help.
This project is one we saved up for and did in two phases, in order to pay cash for everything.
Phase 1 was to rip up the nasty tiles, replace it all with real 3/4" hardwood flooring and put in all new appliances.

The tile extended through the kitchen, pantry hallway, bathroom and breakfast room.

The appliances were all white, which works for some, but not for me.
The trigger to get all this going was that our oven range gas burners stopped working. And when preparing food for a family of 6, it's imperative that your stove, oven, etc. all work properly.

The cabinets were going to be part of Phase 2. I hated the beveled edges, plus they'd been beaten up over the years and gnawed on by my dog as a puppy.

The time had come.

We also intended to change up the paint in the process.

The first step was the removal of the tile floors.
Kyle and I took this job on ourselves. It seemed reasonable enough.

It was hard. Harder than we'd anticipated.

Parts came up easily. Others hung on stubbornly.

In our small bathroom, we discovered cement board and wire mesh below the tile which took ages to remove.

And alas, below the cement board, there were original hardwood floors.

Kyle found the same mix of cement board and wire mesh in the breakfast room.
It was gruesome.

It was also very unlevel. The flooring slanted considerably and needed to be built up in order to be level enough to put new flooring on. Hence the shingles and plywood.

Building layers.

Affixing plywood.
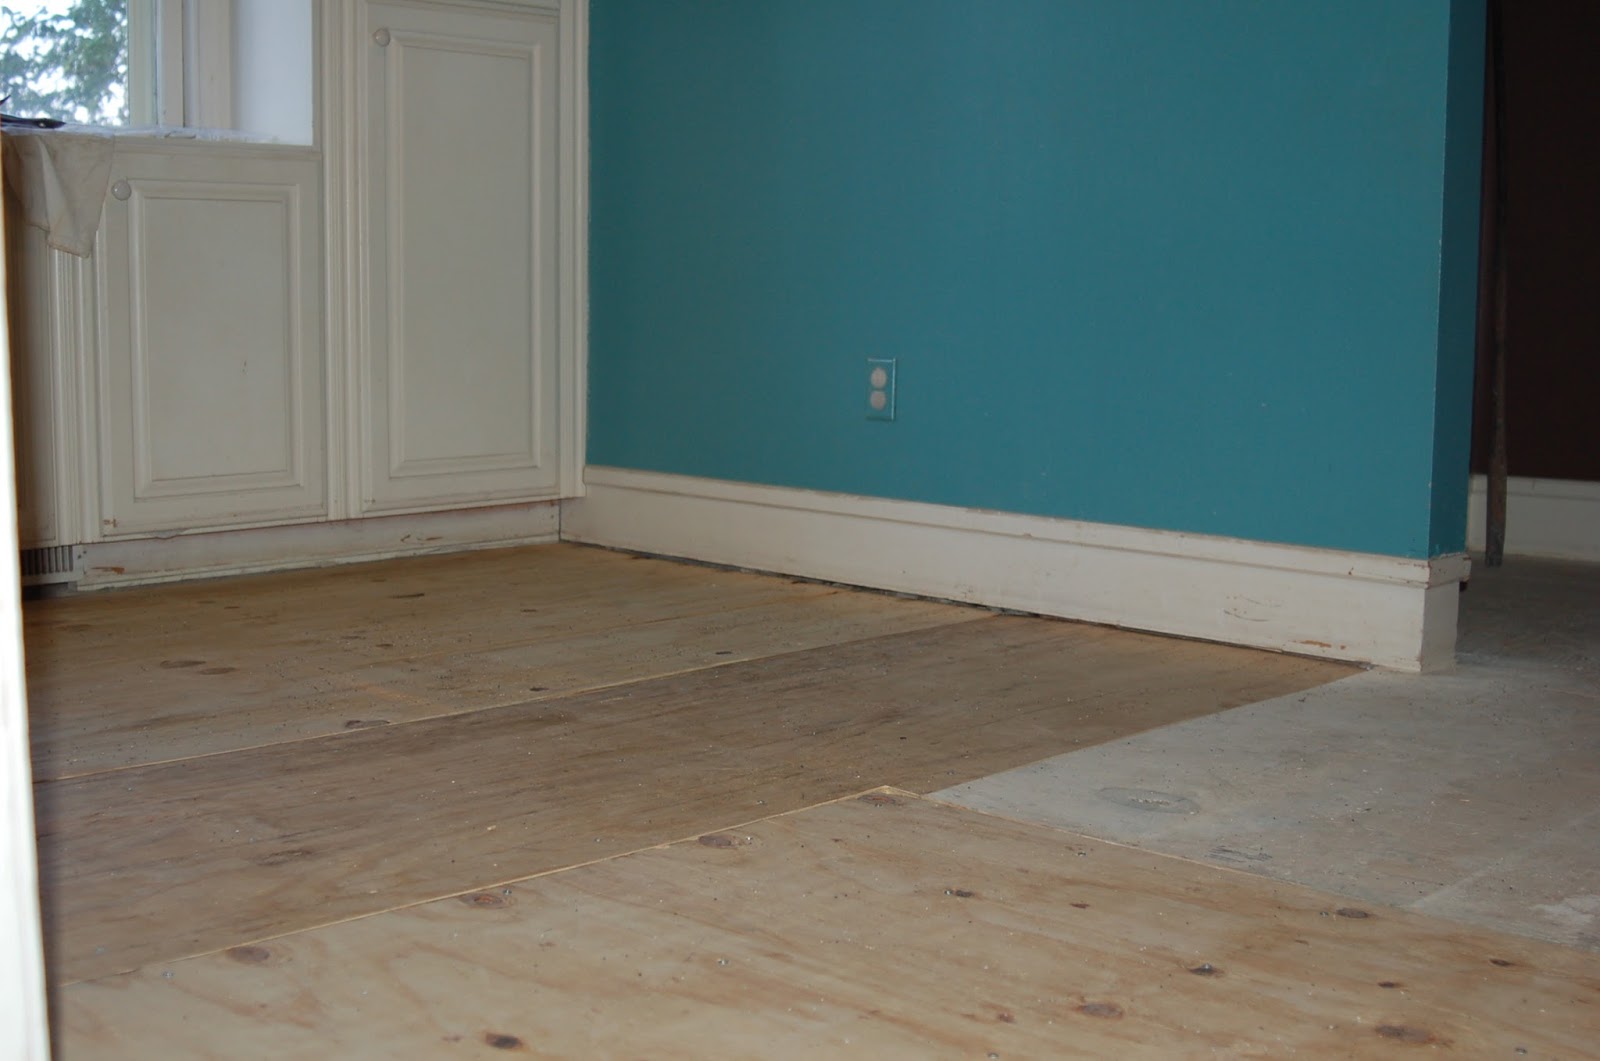
All set.

And once the new floors were laid...it was gorgeous!

A transformation!

Lots of dust tracked everywhere else, but man, what a difference the hardwood floors made.

Meanwhile, the appliances I ordered began showing up, and took temporary residence in our living room.

My new wall oven which has a microwave oven on top.

We temporarily ate breakfast in the living room.

Also, before laying the new wood floors (which we did NOT attempt to do ourselves), we had to acclimate the wood to the temperature of the room to get it to a certain humidity level. This took a few weeks!

The floors of our bathroom, stripped down to the original hardwoods, but still in rough shape.

We did discover that the original hardwoods extended all through the breakfast room and we suspected, into the kitchen. However, the plywood laid during the previous renovation in 1994, to set up for tile, was almost impossible to remove. There was the risk that we could go to all the trouble (and it was a TON of trouble) of removing the plywood panels, and discover significantly damaged wood flooring beneath it. Having already purchased the new wood, we decided to just stick with that decision. And it looked beautiful.

Voila'!


Eventually it was time to put in the new appliances.
As nothing is ever simple when doing home renovations, there were a few hiccups, such as having difficulty fitting the new dishwasher into its space, and having to reshape the gas piping for the slide-in oven range.

And just the sheer mess of it all. Not to mention fear that you'll scratch your new floors.

But, once installed, my new kitchen began to show signs of the lovely space I had been envisioning all along.

I think the combination of stainless steel and the wood floors looks gorgeous! Not to mention that functionality of the new appliances is superb. My new French Door refrigerator quickly became one of my favorite things ever. And my GE slide in gas range is the best thing I've ever used.
The hours and hours of research on the appliances really paid off.
I still love everything I purchased, without exception.
That concludes Phase 1 - begun and completed during 2014.


1 comments
Phase one of your kitchen renovation looks great! I really like that you took before pictures as well as pictures during the renovation to really see the transformation of your kitchen. The new space looks good and I agree, the stainless steel appliances and wood floors together are a great combination. I hope you enjoy your new kitchen for many years to come!
ReplyDelete